

 English
 русский
 عربى
عربى

A set of design, research and development, production, sales, installation in one of the professional new decorative materials enterprises.
Content
- 1 The Fastest Way To Fix An Uneven Wall
- 2 How To Diagnose What Kind Of Unevenness You Have
- 3 Tools And Materials That Make The Job Easier
- 4 Fixing Shallow Unevenness With Skim Coating
- 5 Correcting Bowed Studs And Deeper Waves With Furring Strips
- 6 Dealing With Sagging Or Poorly Fastened Drywall
- 7 Leveling Uneven Masonry And Concrete Walls
- 8 Using A Panel System To Bridge Severe Unevenness
- 9 Fixing Uneven Corners And Where Two Walls Meet
- 10 What These Repairs Typically Cost To Do Yourself
- 11 Common Mistakes That Make An Uneven Wall Worse
- 12 Preventing A Wall From Going Uneven Again
- 13 When It Makes Sense To Call A Professional
- 14 Frequently Asked Questions
- 14.1 Can I fix an uneven wall without removing the drywall
- 14.2 How long does a skim coat take to dry before painting
- 14.3 Is furring or shimming better for an old plaster wall
- 14.4 Will paint alone hide an uneven wall
- 14.5 What is the fastest option for a severely uneven basement or rental wall
- 14.6 Why does my repaired wall look flat but still feel uneven to the touch
- 14.7 Do I need to prime before applying a panel overlay
- 14.8 How do I know if a bow is getting worse or has stabilized
The Fastest Way To Fix An Uneven Wall
An uneven wall can almost always be corrected without tearing it down. Small dips and bows under 6mm are fixed with skim coating or a leveling compound, while gaps larger than 10mm usually need furring strips, shims, or a panel system that bridges the unevenness. The right method depends on whether the problem sits in the surface layer, such as plaster, drywall, or paint buildup, or in the structure underneath, such as bowed studs, shifted masonry, or old lath. Diagnose that first, because patching a structural bow with only a skim coat will telegraph the wave right back through within a season.
Most people discover the unevenness the same way: a straight edge or a level laid flat against the wall rocks instead of sitting flush, or a piece of furniture leaves a visible triangle of shadow at the baseboard under angled light. The sections below walk through how to measure the problem accurately, how to match the repair method to the depth of the gap, and how to keep the wall flat once it is fixed.
A wall that rocks a level by more than a coin's thickness across four feet is already outside the range a single skim coat will correct permanently.
How To Diagnose What Kind Of Unevenness You Have
Hold a 4-foot level or a straight length of lumber against the wall in several spots: horizontally, vertically, and diagonally across corners. Slide a tape measure or a folded piece of paper into any gap that opens up between the straight edge and the wall surface, and mark each spot lightly in pencil so you can compare readings across the whole wall rather than judging from a single point.
Reading the gap size
| Gap Measured | Likely Cause | Typical Fix |
|---|---|---|
| Under 3mm | Paint buildup, minor plaster wear | Light sanding, single skim coat |
| 3mm to 6mm | Settling cracks, uneven taping | Setting-type joint compound, two coats |
| 6mm to 10mm | Bowed stud, old furring | Shimmed furring strips |
| Over 10mm | Structural movement, masonry irregularity | Furring grid plus panel overlay |
Listen to the wall as well as measuring it
Tap the wall in a grid pattern roughly every 30cm. A hollow, drum-like sound over a wide area often points to a hidden air gap behind the drywall rather than a bow in the stud itself, which changes the repair from surface leveling to a proper backing repair where the panel is refastened before anything is skimmed. A dull, solid tap generally confirms the substrate is intact and the unevenness is cosmetic rather than structural.
Tools And Materials That Make The Job Easier
A short list of the right tools removes most of the guesswork from wall leveling work and prevents the majority of the mistakes covered later in this guide.
| Tool | Purpose |
|---|---|
| 4-foot level or straight edge | Locating and measuring the unevenness |
| 12-inch taping knife | Feathering skim coats without ridges |
| Chalk line | Marking the target flat plane for furring |
| Cedar or composite shims | Bringing recessed studs forward to plane |
| Random orbit sander | Smoothing dried compound between coats |
| Stud finder | Confirming framing layout before furring |
| Rasp or hand plane | Trimming high spots on bulged studs |
Fixing Shallow Unevenness With Skim Coating
Skim coating is the right tool for anything under about 6mm. Mix joint compound to a pancake-batter consistency, apply with a 12-inch knife in long, overlapping passes, and feather each pass past the edge of the previous one so no ridge forms. Two thin coats sanded between applications outperform one thick coat, because thick compound shrinks unevenly as it dries and can reintroduce the very waviness you are trying to remove.
Step by step process
- Clean dust and loose material off the surface first; compound will not bond to chalky residue.
- Apply the first coat and let it dry fully, usually 24 hours in normal humidity.
- Sand with 150-grit, wipe down, then apply a second thinner coat to catch anything missed.
- Check with the straight edge again before priming.
- Prime with a stain-blocking primer before the topcoat to avoid flashing where old and new compound meet.
Choosing between setting compound and all-purpose compound
Setting-type compound, sold in powder form and mixed as needed, dries chemically rather than by evaporation, which means it can be built up in slightly thicker layers without cracking and is less prone to shrinkage. All-purpose pre-mixed compound is easier for a first-time repair but shrinks more as it dries, so it works best in thin, patient layers rather than one heavy application.
Skim coating is a surface fix only. If the unevenness returns within weeks in the exact same spot, the compound is not the problem, the framing behind it is, and the wall needs the furring approach covered next.
Correcting Bowed Studs And Deeper Waves With Furring Strips
When a level shows a consistent lean across an entire stud bay rather than one localized dip, the stud itself is bowed. Rather than replacing framing inside a finished wall, furring strips let you build a flat plane in front of the bow without demolition.
The shimming method
Snap a chalk line representing the flattest possible plane across the wall. Where a stud sits behind that line, tack thin wood shims to bring it forward flush with the line. Where a stud bulges past the line, plane or notch it back. Screw thin furring strips, commonly 1x2 or 1x3 lumber, across the studs following that corrected plane, then hang new drywall or a panel product over the furring rather than directly onto the old bowed surface.
Comparing shim materials
| Shim Material | Best Use | Notes |
|---|---|---|
| Cedar shingles | General framing corrections | Tapered profile allows fine adjustment |
| Composite plastic shims | Damp basements or exterior walls | Will not swell or rot with moisture |
| Plywood strips | Larger, consistent gaps | Cut to exact thickness rather than tapered |
This method is standard in renovation work because it corrects the plane without opening walls further than necessary. General remodeling industry guidance on older wood-frame housing points to minor wall-flattening repairs of this type as among the most common callbacks, largely because lumber continues to move seasonally for years after a house is framed.
Dealing With Sagging Or Poorly Fastened Drywall
Not every uneven wall problem comes from the framing. Drywall that was hung with too few fasteners, or with nails instead of screws, can sag slightly between studs over time, creating a shallow wave that runs parallel to the framing rather than across it. This shows up as a series of soft dips spaced evenly apart, matching the stud layout.
The fix is to refasten the panel with drywall screws driven slightly proud of the surface, then cover each screw head with compound, rather than trying to skim coat over an unsecured panel. Skimming without refastening first only hides the problem for a short time before the compound cracks along the same sagging line.
Leveling Uneven Masonry And Concrete Walls
Brick, block, and poured concrete walls rarely bow the way wood-framed walls do; instead they show irregular high and low spots from the original pour or from mortar joints of inconsistent thickness. A cementitious leveling compound or a masonry parge coat handles gaps up to about 12mm in a single reinforced application.
| Wall Type | Recommended Leveling Material | Cure Time Before Finishing |
|---|---|---|
| Poured concrete | Polymer-modified skim coat | 24 to 48 hours |
| Concrete block | Masonry parge coat | 48 to 72 hours |
| Old brick | Fiber-reinforced patching mortar | 72 hours |
Wire brush any loose mortar or efflorescence off the surface before applying leveling compound. Masonry bonds poorly to dust and surface salts, and skipping this step is the most common reason a masonry patch delaminates within a year.
Using A Panel System To Bridge Severe Unevenness
Some walls are uneven enough, or damaged enough in enough places, that skim coating and localized furring stop being practical. In those cases the more efficient approach is to build a flat furring grid and cover the entire wall with a rigid finish panel rather than chasing every low and high spot individually.
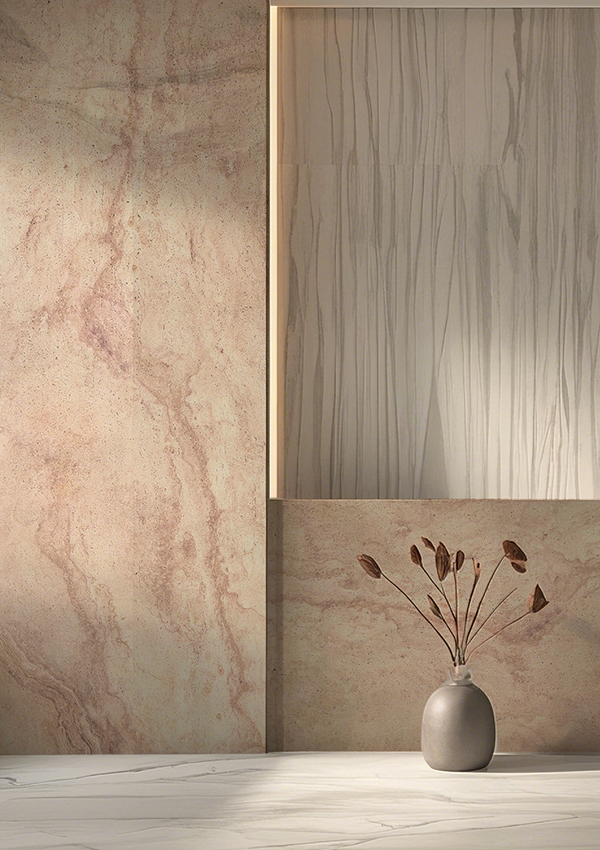
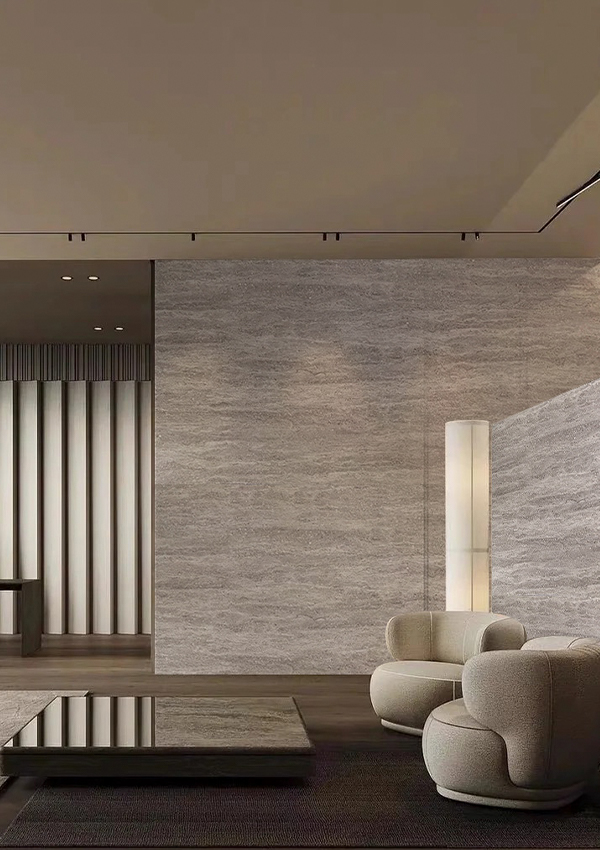
This is where a product like Soft Stone Wall Panel becomes a practical middle ground between full replastering and a full demolition and rebuild. Because these panels are lightweight, rigid, and manufactured to a consistent flat thickness, they lie evenly across a furred-out frame and visually cancel out the irregularities of the wall behind them, without the multi-day dry times that thick masonry leveling compounds require. For rental properties, older masonry walls with cosmetic pitting, or basement walls where moisture makes traditional plaster repairs risky, a soft stone panel overlay lets you flatten the visual plane of the room in a single weekend rather than several.
When a panel overlay makes more sense than wet-applied leveling
- The wall has more than three or four separate uneven zones rather than one isolated dip
- You want a finished, textured look without multiple sanding and painting passes
- The underlying surface has moisture concerns that make wet compounds risky
- Timeline matters more than the lowest possible material cost
Comparing finish methods side by side
| Method | Typical Install Time | Best Suited For |
|---|---|---|
| Skim coating | 1 to 3 days including drying | Shallow, isolated dips |
| Furring and redrywalling | 3 to 5 days | Bowed studs across several bays |
| Masonry parge coat | 3 to 5 days including cure | Uneven brick or block |
| Panel overlay | 1 to 2 days | Severely or widely uneven walls |
Panel systems still require the wall to be furred to a flat plane first if the bow is structural; a rigid panel laid over a genuinely bowed stud will simply bow with it. The furring step from the earlier section remains necessary, the panel simply becomes the finish layer instead of drywall and paint.
Fixing Uneven Corners And Where Two Walls Meet
Corners bow independently of the flat wall sections around them, and standard skim coating tends to make corner unevenness worse because a wide knife cannot ride the inside angle cleanly. Use a corner trowel or a purpose-built corner tool instead, working one side of the angle at a time and letting each side dry before coating the second.
Where an outside corner has been knocked out of square over years of foot traffic, a paper-faced or metal corner bead reset in fresh compound restores a crisp, straight line far more reliably than trying to build the missing material back up freehand.
Ceiling and wall transitions
The line where a wall meets the ceiling is one of the easiest places to miss unevenness because the eye reads it as a shadow line rather than a physical gap. Run the straight edge vertically right up to the ceiling line during your initial diagnosis, since a wall that reads flat at chest height can still taper noticeably near the top plate.
What These Repairs Typically Cost To Do Yourself
Material costs vary by region, but the relative cost between methods stays fairly consistent. Skim coating is the cheapest option since it relies on inexpensive joint compound and basic tools already common in a household toolkit. Furring and shimming costs more in lumber and labor time but avoids replacing entire wall sections. Panel overlays sit in the middle: more than a bag of compound, but often less than the combined cost of demolition, disposal, new drywall, tape, mud, primer, and paint on a severely damaged wall.
Factor in labor time, not just material cost. A repair that takes three evenings of sanding and repainting can end up costing more in time than a panel overlay that closes out in a single weekend.
Common Mistakes That Make An Uneven Wall Worse
A few habits show up repeatedly in wall leveling jobs that do not hold up over time.
- Applying one thick coat instead of two thin coats, which shrinks unevenly while curing
- Skipping the straight edge check and eyeballing flatness instead, which misses gradual bows the eye cannot detect
- Sanding before compound has fully cured, which tears the surface and reopens low spots
- Furring over a stud without shimming the neighboring studs to match, which just relocates the wave instead of removing it
- Painting directly over an unprimed patch, which flashes a visibly different sheen even after the surface itself is flat
- Ignoring a hollow sound behind drywall and skimming over it anyway, which leaves the underlying cause untouched
Preventing A Wall From Going Uneven Again
Seasonal humidity swings are the most common reason a repaired wall drifts out of flat again within a year or two. Keeping indoor humidity in a stable band, insulating exterior walls properly so framing does not experience large temperature swings, and using screws rather than nails when refastening drywall all reduce the chance of movement recurring. A wall that was properly furred and shimmed the first time rarely needs the same repair twice, which is why the diagnosis step at the start of this guide matters more than the finishing step at the end.
When It Makes Sense To Call A Professional
Most of the repairs above are within reach of a patient homeowner working over a weekend. A few situations are worth handing to a professional instead: a bow that has worsened noticeably over just a few months rather than years, cracking that runs diagonally from a corner rather than following a stud line, or unevenness paired with visible moisture staining. Those patterns point toward structural settling or a moisture source that needs to be resolved before any cosmetic repair will hold.
Frequently Asked Questions
Can I fix an uneven wall without removing the drywall
Yes, for gaps under roughly 10mm skim coating and localized furring can be done without opening the wall. Beyond that depth, most repairs are more durable once the old surface is removed or furred over rather than built up indefinitely with compound.
How long does a skim coat take to dry before painting
A standard joint compound skim coat typically needs 24 hours per coat in normal indoor humidity, with primer applied only after the final sanding pass leaves a dust-free, uniform surface.
Is furring or shimming better for an old plaster wall
Shimming individual studs works when the bow is isolated to one or two bays. When several bays are affected across a wide section of wall, a full furring strip grid is faster and produces a more consistent plane than shimming each stud separately.
Will paint alone hide an uneven wall
No. Paint highlights surface irregularities rather than hiding them, especially under angled or natural light. Leveling has to happen before painting, not instead of it.
What is the fastest option for a severely uneven basement or rental wall
A furred-out panel overlay, such as a lightweight stone-look panel system, is typically the fastest route because it avoids multiple wet coats and long cure times while still producing a flat, finished surface in a single install.
Why does my repaired wall look flat but still feel uneven to the touch
Visual flatness and tactile flatness are judged differently; a slight texture from sanding marks or an uneven sheen can feel like unevenness even when a straight edge shows the surface is within tolerance. A final light sanding pass followed by a uniform primer coat usually resolves this.
Do I need to prime before applying a panel overlay
Priming is generally unnecessary under a furred panel overlay since the panel becomes the finished surface itself, though the furring strips and any exposed framing should be dry and free of active moisture before installation.
How do I know if a bow is getting worse or has stabilized
Mark both ends of the gap with pencil and date the marks, then recheck with the straight edge every few months. A gap that holds steady across two seasons has stabilized; one that keeps widening points to ongoing structural movement that should be evaluated before finishing over it.


 ++86-18906857262 / ++86-13754347028
 No.49, Tunnan Industrial Zone, Daohui Street, Shangyu District, Shaoxing City, Zhejiang Province, China