

 English
 русский
 عربى
عربى

A set of design, research and development, production, sales, installation in one of the professional new decorative materials enterprises.
Content
- 1 Choose the Panel Material by Moisture Performance, Not Just Looks
- 2 Prepare the Wall and the Panels Before the First Cut
- 3 Measure the Wall and Plan the Wainscoting Layout
- 4 The Installation Sequence, Step by Step
- 5 Seven Mistakes That Ruin Bathroom Wainscoting
- 6 DIY or Hire a Contractor: What Changes with Project Size
- 7 How to Maintain Bathroom Wainscoting After Installation
- 8 Bathroom Wainscoting FAQ
The short answer: a reliable bathroom wainscoting installation comes down to four decisions — a moisture-proof panel, a flat and dry wall, both adhesive and mechanical fixing, and a fully sealed top edge and corner. Remove any one of the four and the project can look good for a month, then start to swell, darken, or grow mold lines at the joints.
Bathrooms are not like living rooms. They combine high humidity, direct water splash, and constant temperature movement. Steam from a hot shower rises, condenses on the upper wall, and runs down the face of the wainscoting. If the top edge and external corners are not sealed, that water slides behind the boards and stays in a warm, dark space where mold grows quickly. That is why a general woodworking tutorial is not enough. This guide walks through material selection, wall preparation, layout, cutting, fixing, trim, and sealing, using the same sequence that holds up in residential bathrooms and in commercial washrooms in hotels, clinics, and spas.
Choose the Panel Material by Moisture Performance, Not Just Looks
Decision one is the panel. The surface finish is what you see, but the panel's behavior under moisture is what determines whether the bathroom wainscoting lasts. Paper-faced boards, unsealed MDF edges, and weak surface films are the most common causes of early failure. The table below compares the main options available in the current market.
| Material | Moisture behavior | Appearance | Best suited for | Typical thickness |
|---|---|---|---|---|
| Solid wood beadboard or MDF | Moderate; MDF swells quickly if cut edges are exposed | Classic, warm, traditional | Powder rooms and low-humidity bathrooms | 8–12 mm |
| PVC and rigid foam composite | High; closed-cell structure resists water even at cut edges | Clean, flat, slight plastic sheen | Rental units, budget bathrooms, high-traffic washrooms | 8–10 mm |
| Wood veneer paneling with PVC/PET film | High; film surface blocks splash; substrate edges should be sealed | Natural wood grain, matte to high gloss | Hotel bathrooms, residential master baths, feature walls | 9–12 mm |
| Flexible stone wall panel | Very high; mineral surface does not swell; works near tubs and showers | Realistic stone, brick, and earthy textures | Shower-adjacent walls, spa-style bathrooms, tub surrounds | 2–4 mm |
If you are comparing options, read the wood veneer paneling knowledge encyclopedia to see how the base board and surface film work together, and ask to touch a flexible stone wall panel in person — the surface depth is different from a printed flat panel.
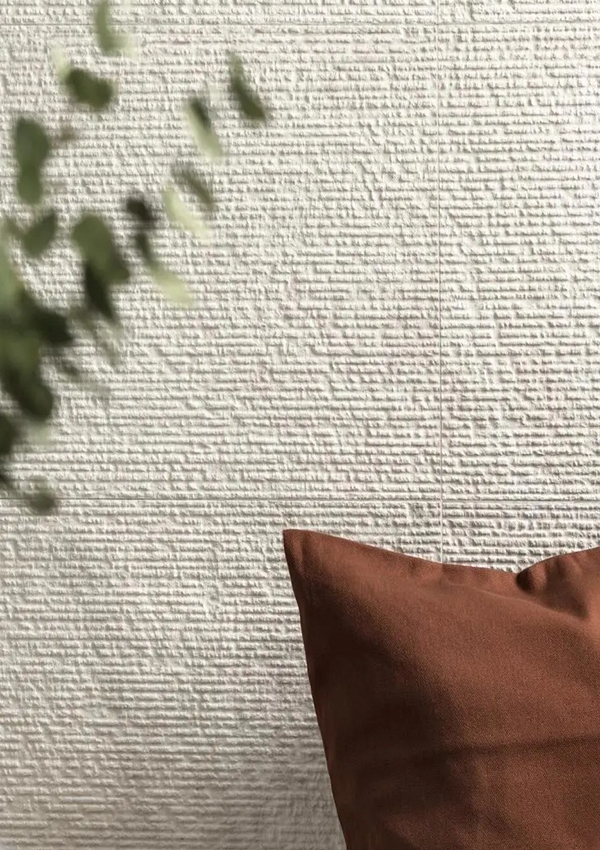 Custom Flexible Stone Wall Panel Suppliers, OEM/ODM CompanyShaoxing Mingyou Decoration Materials Co., Ltd is a China flexible stone wall panel suppliers and company, OEM/ODM custom flexible stone ...View Product →
Two practical notes on selection. First, buy the full quantity in a single order; a second delivery weeks later can show slight color differences in stone-vein or wood-grain printing. Second, ask the supplier how trimmed edges should be treated. Closed-cell PVC and mineral-based flexible stone usually do not need an edge sealant, while wood-based products often do.
Prepare the Wall and the Panels Before the First Cut
Skip wall preparation and even the best panel will telegraph every imperfection. Bathroom walls often carry old paint, adhesive residue, or texture left after tile removal. Wainscoting does not hide wall defects; it repeats them across the whole room. The most reliable sequence is to patch and level the substrate first, then check moisture, then bring the panels into the room to acclimate.
Check the Wall Is Flat and Dry
- Run a 2-meter straightedge vertically and horizontally over the area to be paneled. If a gap under the straightedge exceeds 3 mm, flatten that area with a skim coat of joint compound and sand smooth.
- Check wall dampness with a moisture meter if the room has had leaks. A reading above the substrate supplier's recommended level means the water problem has to be fixed before any paneling goes up.
- Remove wallpaper, flaking paint, and loose plaster. Wash greasy areas with a mild degreaser, then prime the surface so waterproof panel adhesive bonds to the wall instead of to dust.
Let the Panels Acclimate in the Bathroom
Store the panels in the bathroom for 24 to 48 hours before installation. Panels delivered from a cold warehouse and glued immediately to a warm wall expand unevenly; the short acclimation period reduces later buckling at the joints. Stand them flat on the floor, never leaned against a damp wall.
Measure the Wall and Plan the Wainscoting Layout
The layout decisions determine how the finished wainscoting reads in the room. A one-meter error in the starting height, or aligned vertical seams, will be visible from every angle. Take the extra twenty minutes to measure and mark before a single panel is cut.
Choose the Wainscoting Height First
A classic residential wainscot runs 32 to 36 inches high, the traditional chair-rail zone. In commercial washrooms and in bathtub rooms, contractors often raise the height to 48 to 60 inches because a taller paneled wall protects more surface from splash and speeds cleaning. Decide the height, then mark a horizontal line around the room with a laser level. The line, not the floor, is the reference — bathroom floors are rarely perfectly level.
Estimate Panel Quantity and Plan the Seams
Quick estimate: a typical 5-by-8-foot bathroom has a wall perimeter of about 26 feet. At a 4-foot wainscot height, the panel area is close to 105 square feet before waste. Multiply the final panel area by 1.12 to include a 12 percent allowance for cutouts, small damaged pieces, and mistakes. A 105-square-foot wall area therefore needs about 118 square feet of panels.
Stagger the vertical seams like a brick pattern so no two joints line up across the room. Aligned seams create a visible continuous line and a structural weak point. Mark each panel's position on the wall with a pencil line and number the panels before fixing.
The Installation Sequence, Step by Step
With the materials and layout ready, a DIY team can finish a single bathroom in one to two days, plus curing time. Commercial installers working in pairs usually complete a standard guest bathroom in 4 to 6 hours when the panels are pre-cut off-site. For the tub surround zone, a travertine-look flexible stone wall panel keeps the stone aesthetic without the weight and thickness of real stone veneer.
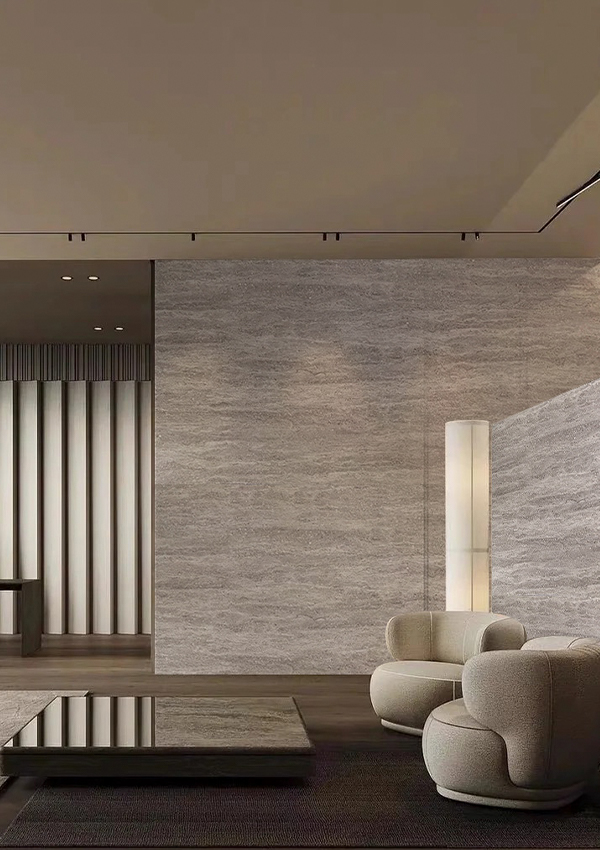 Travertine Flexible Soft Stone Wall Panel Suppliers, Custom Company - Shaoxing MShaoxing Mingyou Decoration Materials Co., Ltd is a China OEM/ODM Travertine Flexible Soft Stone Wall Panel suppliers and custom company,...View Product →
Cut, Dry-Fit, and Fix the Panels
- Dry-fit the panels. Hold each panel in position, mark the cut lines and outlet locations, then number the panels so the final layout matches the plan.
- Cut the panels. For film-faced boards, cut with the finished surface facing up using a panel saw or a fine-tooth jigsaw. For flexible stone veneer, use a jigsaw with a carbide blade and wear a dust mask.
- Apply adhesive. Run a continuous 8 mm zigzag bead or 100 mm spaced ribbons on the back of the panel, keeping the adhesive 25 mm away from the edges so it does not squeeze out at the joint.
- Fix the first panel. Press it against the wall, tap it lightly with a rubber mallet, check it against the level line, and secure the edges with corrosion-resistant trim nails or screws spaced 300 to 400 mm apart.
- Continue panel by panel. Leave a 2 to 3 mm gap at every vertical joint; a small offcut used as a spacer keeps the gap even.
Fit Around Obstacles, Then Install Trim and Seal
- Cut around electrical outlets. Switch the circuit off, mark the outlet position on the panel, drill a starter hole, cut with a jigsaw, and refit the cover plate over the panel after it is fixed. Leave a 2 mm gap around the opening so the plate sits flat.
- Cut around pipes. Mark the pipe position from the panel edge, drill a hole slightly larger than the pipe with a hole saw, slide the panel into place, and cover the gap with an escutcheon plate.
- Install the chair rail and baseboard. Apply construction adhesive to the trim, press it into place, and pin it with finish nails. Cover the vertical expansion gaps with matching trim or accent strips.
- Caulk and seal. Use a mold-resistant silicone sealant in a matching or neutral color. Run a continuous bead along every vertical joint, the top edge of the wainscoting, outside corners, and transitions to tile.
- Wait before regular use. Keep the exhaust fan running and avoid heavy steam for 24 hours; wait 48 to 72 hours before routine hot showers.
Seven Mistakes That Ruin Bathroom Wainscoting
Most premature failures in bathroom wainscoting come from the same handful of errors, usually committed in the first hour of installation. Field teams see these seven repeatedly.
- Mistake 1 — Installing over a textured or uneven wall. The panel copies the wall surface. Skim-coat and sand before the first panel goes up.
- Mistake 2 — Leaving the top edge unsealed. Steam condenses on the upper wall and runs straight behind the panel. Caulk the top edge, especially near a shower.
- Mistake 3 — Butting panels tightly together. With no expansion gap, panels press against each other in heat and humidity. Leave 2 to 3 mm and cover the gap with trim.
- Mistake 4 — Using standard wood glue. Interior wood glue softens under humidity. Use a moisture-resistant panel adhesive or an MS polymer adhesive made for bathrooms.
- Mistake 5 — Driving fasteners too deep. A countersunk nail head breaks the surface film and creates a water entry point. Set the fastener flush, not below the surface.
- Mistake 6 — Caulking before the adhesive cures. Early caulking traps moisture and creates a mold pocket. Follow the adhesive manufacturer's curing time, then caulk.
- Mistake 7 — Turning off the ventilation after installation. The first week matters most for adhesive curing. Run the exhaust fan for 20 to 30 minutes after every shower for at least a month.
DIY or Hire a Contractor: What Changes with Project Size
For one bathroom in a private home, DIY is a realistic weekend project. For five or more bathrooms, or a hotel, clinic, spa, or office washroom corridor, the calculation changes: batch-consistent panels, faster installation, and a single responsible supplier become more important than hourly labor cost.
When DIY Makes Sense
- One or two bathrooms with reasonably flat walls and no plumbing changes.
- Total panel area under 120 square feet, a 12 to 15 percent waste budget, and a weekend of uninterrupted time.
- At least one person on the team who is comfortable cutting panels around outlets and pipes.
When a Manufacturer-Led Approach Is the Better Deal
- Five or more bathrooms, or a corridor with continuous wainscoting: batch consistency decides the finish quality.
- Specified stone or wood textures that have to match across floors: a single source for the base board and the surface layer avoids color mismatch.
- A hard schedule: panels pre-cut off-site and installed on site in hours instead of days.
At this scale it makes sense to source directly from a manufacturer rather than from a retail distributor. A decorative materials manufacturer such as Shaoxing Mingyou Decoration Materials, which produces wood veneer paneling and flexible stone panels under one roof, can hold the surface texture stable across the whole delivery and, for local projects, supply the installation crew as well. Before you choose a product, read how flexible stone wall panels are made and installed, and check the latest trends in aluminium and wood veneers if the design brief calls for a hybrid material look in changing rooms or hotel corridors.
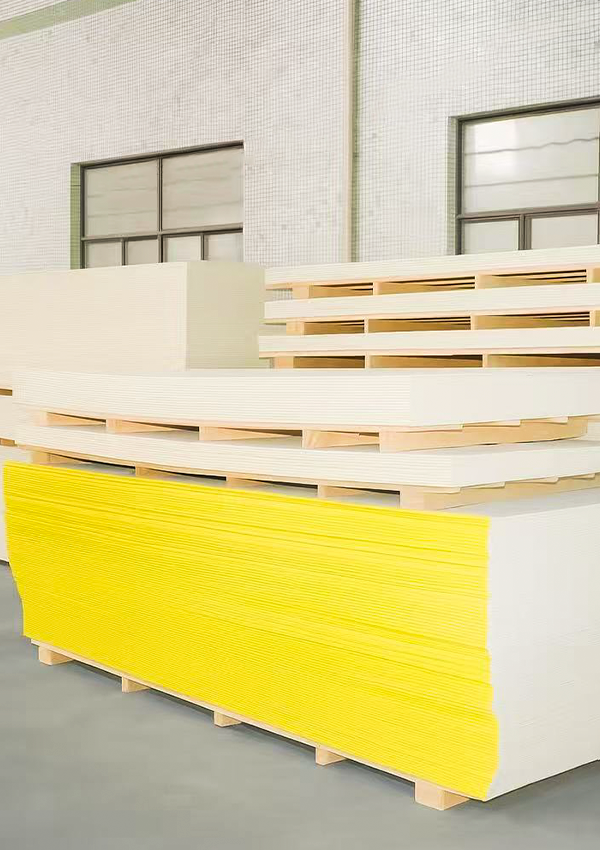 Custom Wood Veneer Wall Paneling Suppliers, OEM/ODM CompanyShaoxing Mingyou Decoration Materials Co., Ltd is a China wood veneer wall paneling suppliers and company, OEM/ODM custom wood veneer wal...View Product →
How to Maintain Bathroom Wainscoting After Installation
After a correct installation, maintenance is light. What kills bathroom wainscoting over time is not cleaning but neglected sealant lines and poor ventilation habits. The routine below covers the four tasks that keep panels, trim, and joints stable for years.
| Task | Frequency | What to do |
|---|---|---|
| Surface cleaning | Once a week | Wipe panels and trim with a soft cloth in mild soapy water, then dry the surface. |
| Sealant inspection | Every 6 months | Check the top edge, outside corners, and wall transitions; remove old silicone and re-caulk where it is cracked. |
| Ventilation | After each shower | Run the exhaust fan for 20 to 30 minutes to lower the humidity load on the panels. |
| Puncture repair | As needed | Fill small dents with color-matched repair paste; replace a panel only if the surface film is broken. |
Avoid abrasive pads and bleach-based sprays on film surfaces. On flexible stone panels, use a soft brush or cloth; a high-pressure cleaner can lift the mineral surface at a seam. If the bathroom has a window, opening it after a shower reduces the fan time needed.
Bathroom Wainscoting FAQ
- What height should wainscoting be in a bathroom?
Use 32 to 36 inches for a classic look in a residential bathroom, and 48 to 60 inches when the wainscot must guard against splash near a tub or in a commercial washroom. The chair rail sits at the top line of the paneling. - Can you install wainscoting over existing wall tiles?
Only if the tile is flat, clean, and fully bonded. Thin panels such as flexible stone or PVC composite can be adhered directly over sound tile; loose or hollow tiles must be removed first. When in doubt, remove the tile and level the wall. - Do I need a moisture barrier behind the wainscoting?
For closed-cell PVC and mineral-based flexible stone panels, no extra barrier is needed when every joint and edge is sealed and the interior wall is dry. For wood-based panels, a barrier can help, but the better first step is to choose a product rated for humid rooms and to seal all cut edges. - Which is better: adhesive or nails?
Both. The adhesive carries the load and the nails or screws hold the panel while the adhesive cures. In a wet area, use corrosion-resistant fasteners and a moisture-resistant panel adhesive; do not rely on one method alone. - How do you cut wainscoting around electrical outlets?
Switch the breaker off, measure the outlet position from the nearest panel edge, transfer the dimensions to the panel, drill a starter hole, and cut with a jigsaw. Refit the cover plate directly over the panel after fixing, leaving a 2 mm gap around the opening. - How long after installation can the bathroom be used?
Light use is fine after 24 hours. Routine hot showers can resume after 48 to 72 hours, with the exhaust fan running, because the adhesive needs time to reach full strength before facing steam. - Can flexible stone panels be used as wainscoting behind a vanity?
Yes. The thin, flexible format wraps inside corners and handles the area behind a basin without visible joints. Use a matching panel on the splash zone between the vanity top and the mirror for a continuous look.
 ++86-18906857262 / ++86-13754347028
 No.49, Tunnan Industrial Zone, Daohui Street, Shangyu District, Shaoxing City, Zhejiang Province, China