
 English
 русский
 عربى
عربى
A set of design, research and development, production, sales, installation in one of the professional new decorative materials enterprises.
Content
- 1 Tools and Materials You Actually Need
- 2 Preparing the Wall Surface Properly
- 3 Mixing Plaster to the Right Consistency
- 4 Applying the Plaster in Two Coats
- 5 Sanding and Sealing Before Paint
- 6 Painting the Wall: Step by Step
- 7 Decorative Wall Panels as a Practical Alternative
- 8 Common Mistakes That Ruin a Finish
- 9 How Weather and Season Affect the Job
- 10 Maintaining a Painted Plaster Wall
- 11 Types of Plaster and When to Use Each
- 12 Realistic Cost Breakdown for a Single Room
- 13 Room by Room Considerations
- 14 DIY Plastering Versus Hiring a Professional
- 15 Low VOC and Breathable Paint Options
- 16 Extra Tips That Make a Noticeable Difference
- 17 Frequently Asked Questions
- 17.1 How long should plaster dry before painting?
- 17.2 Can I paint directly onto new plaster without a mist coat?
- 17.3 Is it cheaper to install Decorative Wall Panels than to plaster and paint?
- 17.4 What causes plaster to crack after painting?
- 17.5 How many coats of paint does a plastered wall need?
- 17.6 Can Decorative Wall Panels be installed over old wallpaper?
- 17.7 How do I know if a wall is flat enough for panels?
Plastering and painting a wall correctly comes down to four things: a clean dry surface, the right plaster mix applied in thin even coats, proper drying time before priming, and quality paint applied with the correct tools under good lighting. Skip any one of these steps and the wall tends to crack, peel, or look patchy within a year. The sections below walk through every stage in detail, from tools and mixing ratios through to drying times, common mistakes, maintenance, and a comparison with Decorative Wall Panels as a faster finishing alternative for anyone who wants a polished look without weeks of wet plaster work.
Tools and Materials You Actually Need
Before mixing any plaster, gather everything in one place so the job is not interrupted halfway through, which is one of the leading causes of uneven texture. A typical interior wall job needs the following:
- Plastering trowel and hawk board
- Mixing bucket and a paddle mixer drill attachment
- Sandpaper, 120 and 180 grit
- Painter's tape and drop sheets
- Primer or sealer, roller, and an angled brush
- Interior emulsion or matt paint
- A corner trowel for internal and external corners
- A spirit level or laser line for checking flatness
Surveys from regional decorating trade bodies consistently show that around 60 percent of poor finish complaints trace back to skipped sanding steps or inadequate drying time rather than the paint product itself. Having the right tools on hand from the start removes most of the temptation to rush a stage.
Preparing the Wall Surface Properly
Cleaning and Repairing
Remove dust, grease, and any flaking material with a stiff brush, then wipe with a damp cloth. Fill cracks wider than 2mm with a filler compound and let it cure fully, usually 4 to 6 hours, before sanding flush. For larger holes, a mesh patch behind the filler stops the repair from sinking or cracking again later.
Checking Moisture Levels
Plaster should never go onto a damp wall. A moisture meter reading under 16 percent is generally considered safe for interior plastering work. Walls affected by rising damp or persistent condensation need treatment first, since plaster applied over moisture will blister and lift within weeks regardless of how well it was mixed or applied.
Protecting the Room
Cover flooring with drop sheets taped at the edges, remove switch plates where possible, and mask skirting boards. Dust from sanding travels further than expected, so closing doors to adjoining rooms and covering furniture saves considerable cleanup time later.
Mixing Plaster to the Right Consistency
Most bagged plasters use a ratio close to 2 parts plaster to 1 part water by volume, though this varies by brand, so always check the bag instructions first. Add plaster to water rather than the reverse, and mix until the consistency resembles thick yogurt with no lumps. Overmixing introduces air bubbles that show up as pinholes once the surface dries.
| Coat Thickness | Coverage per 25kg Bag | Typical Drying Time |
|---|---|---|
| 2mm | 12-14 m2 | 24 hours |
| 5mm | 6-8 m2 | 48 hours |
| 10mm | 3-4 m2 | 72+ hours |
Mix only what can be applied within roughly 30 minutes, since plaster begins to stiffen once exposed to air and becomes much harder to spread smoothly after that window closes.
Sanding and Sealing Before Paint
Once fully cured, sand lightly with 180 grit to knock down any high spots, then vacuum the dust thoroughly rather than just brushing it off. Apply a mist coat, which is ordinary emulsion paint diluted with about 10 percent water. This step matters more than most people expect, because fresh plaster is porous and will absorb undiluted paint unevenly, leading to patchy color known in the trade as flashing. Let the mist coat dry fully, usually 2 to 4 hours, before judging whether a second mist pass is needed over particularly absorbent patches.
Painting the Wall: Step by Step
Cutting In Edges
Use an angled brush to paint a 5cm border around ceilings, corners, and trim before rolling the main area, while the edge paint is still wet so roller marks blend smoothly into it rather than leaving a visible line.
Rolling Technique
Work in a W pattern roughly 1 meter square, then fill in without lifting the roller, finishing each section with light upward strokes to even out the texture. Two coats almost always look better than one thick coat, since a thinner application dries more evenly and resists peeling or sagging.
Drying Between Coats
Most water-based emulsions need 4 to 6 hours between coats at normal room temperature, though humid or cold conditions can stretch this to overnight. Touching the surface lightly with a clean dry finger is a reliable way to check it is ready without leaving a mark.
Choosing the Right Sheen
Matt finishes hide surface imperfections well and suit most living spaces, while satin or eggshell finishes wipe clean more easily and are often chosen for kitchens, hallways, and children's bedrooms where marks happen more often.
Decorative Wall Panels as a Practical Alternative
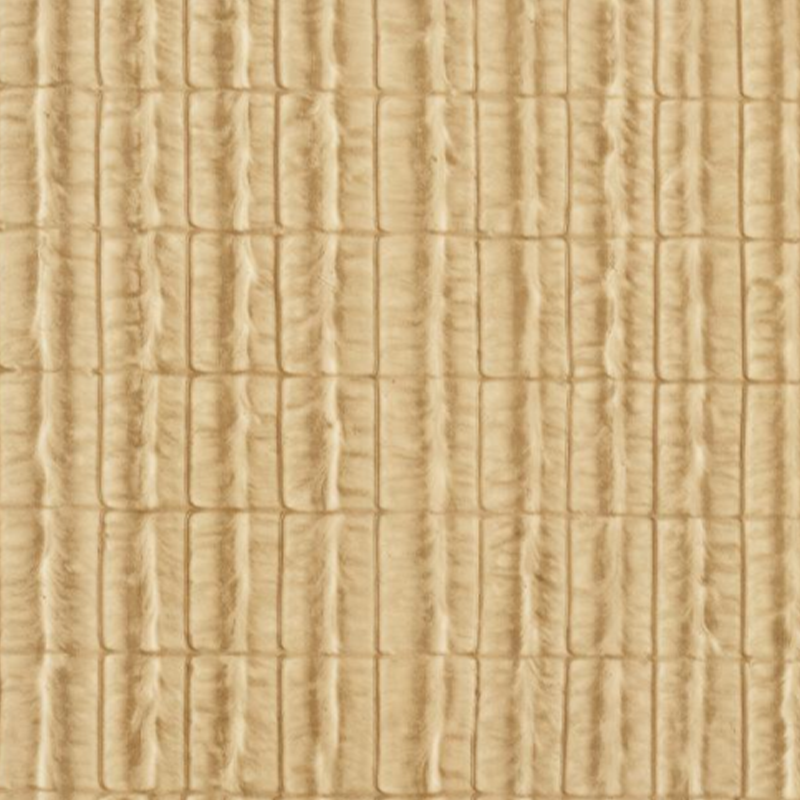
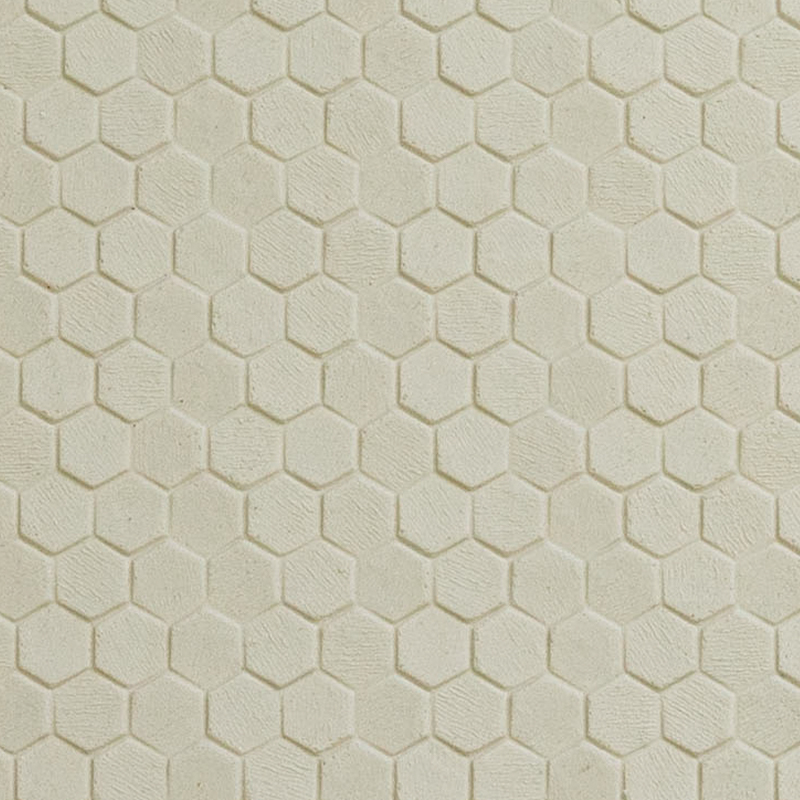
For renovators who want a finished look without the dust and multi-day drying schedule of wet plaster, Decorative Wall Panels offer a direct installation route. Panels made from PVC, WPC composite, or MDF can be fitted over a reasonably flat wall using adhesive or a track system, often completing a feature wall in a single afternoon. They also resist moisture better than painted plaster in bathrooms or kitchens, and many designs replicate textures such as wood grain, stone, or 3D geometric patterns that would otherwise require specialist plastering skills to achieve by hand.
| Factor | Plaster and Paint | Decorative Wall Panels |
|---|---|---|
| Installation Time | 3-5 days | Few hours to one day |
| Moisture Resistance | Moderate | High |
| Texture Variety | Limited by skill | Wide range of finishes |
| Repair if Damaged | Patch and repaint section | Swap individual panel |
Many homeowners now combine both approaches, plastering and painting the bulk of a room while using Decorative Wall Panels on a single feature wall behind a bed, sofa, or television unit, which keeps the overall project cost down while still adding visual texture to the space.
Common Mistakes That Ruin a Finish
- Applying plaster too thickly in one pass, causing cracking as it dries
- Skipping the mist coat and getting patchy color absorption
- Painting before plaster has fully cured, trapping moisture under the paint film
- Using a low quality roller that leaves visible fiber marks
- Poor lighting during application, hiding uneven patches until daylight reveals them
- Ignoring temperature, since plastering below 5 degrees Celsius slows curing dramatically
- Reusing old paint without straining it, which leaves dried skin fragments in the finish
How Weather and Season Affect the Job
Plastering in very hot or dry conditions causes the surface to set too quickly, which can leave trowel marks that are difficult to smooth out before the material stiffens. Conversely, cold or damp conditions slow curing considerably, sometimes doubling the wait time between coats. Where possible, schedule plastering work for mild, dry weeks, and avoid running heaters directly at a freshly plastered wall, since rapid uneven drying tends to cause surface cracking rather than helping the job finish faster.
Maintaining a Painted Plaster Wall
Once finished, avoid hanging heavy items for at least a week to let the paint film harden fully. Clean marks with a soft damp cloth rather than abrasive sponges, since matt finishes scuff easily under firm rubbing. Touch-up paint should always be kept from the same batch, because even the same color code can shift slightly between production runs, leading to a visible patch later. Keeping a labeled sample pot from the original job, stored in a cool dark place, makes future touch-ups far easier to match.
Types of Plaster and When to Use Each
Not all plaster behaves the same way, and picking the wrong type for the job is a common reason results disappoint even when the application technique was sound.
| Plaster Type | Best Use | Setting Time |
|---|---|---|
| Bonding plaster | Base coat on smooth or low-suction surfaces | 90 minutes |
| Finishing plaster | Top skim coat for a smooth paintable surface | 90 to 120 minutes |
| One coat plaster | Patch repairs and small areas | 60 minutes |
| Lime plaster | Older or breathable solid walls | Several days per coat |
For period properties with solid brick or stone walls, lime plaster is often preferred over gypsum because it allows moisture to pass through the wall rather than trapping it, which is the underlying cause of many damp problems in older buildings.
Realistic Cost Breakdown for a Single Room
Costs vary heavily by region and wall condition, but a rough breakdown for a typical 12 square meter bedroom wall area helps with budgeting before the work begins.
- Plaster materials: two 25kg bags, covering both base and finish coats
- Filler, tape, and sundries for crack and joint repair
- Mist coat and two top coats of emulsion, roughly 5 to 7 liters total
- Brushes, rollers, trays, and drop sheets if not already owned
- Labor, if hiring a plasterer and decorator rather than doing it yourself
Doing the work personally cuts the cost substantially but adds time, since a first-time plasterer typically needs two to three times longer than a tradesperson to achieve a comparable finish. Decorative Wall Panels can actually reduce the labor portion of this budget further, since fitting panels generally requires fewer specialist skills than achieving a smooth hand-trowelled finish.
Room by Room Considerations
Bathrooms and Kitchens
Steam and splashing make these rooms the toughest test for any wall finish. A moisture resistant emulsion or a satin finish copes better than standard matt paint, and Decorative Wall Panels with a sealed PVC surface are particularly well suited to splash zones around sinks and behind hobs.
Bedrooms and Living Rooms
These spaces tolerate matt finishes well since they see less physical contact, and a smooth plastered wall gives a calm, even backdrop for furniture and artwork without competing for attention.
Hallways and Stairwells
High traffic areas benefit from a wipeable finish such as eggshell, and corners along stairwells are worth reinforcing with angle beads during plastering since they take more knocks than flat wall sections.
Children's Rooms
Washable paint formulated for scuffs and crayon marks is widely available and worth the modest price difference over standard matt paint in rooms used by young children.
DIY Plastering Versus Hiring a Professional
Plastering is one of the more difficult trades to pick up quickly, since the working window before the material stiffens is short and mistakes are hard to disguise once the surface sets. Painting, by contrast, is far more forgiving and well within reach for most homeowners with patience and the right preparation.
A reasonable approach for many households is hiring a professional plasterer for the skim coat, then handling the sanding, sealing, and painting personally once the surface has cured. This splits the budget toward the stage that benefits most from experience while keeping costs down on the stages that are easier to learn.
Low VOC and Breathable Paint Options
Indoor air quality concerns have pushed many paint manufacturers toward low VOC and zero VOC formulations, which release fewer volatile compounds as the paint cures. These are particularly worth choosing for bedrooms and nurseries, since off-gassing is strongest in the first few weeks after painting. Breathable mineral paints, often based on silicate or lime, pair naturally with lime plaster on older solid wall construction, since both materials allow moisture vapor to move through rather than becoming trapped behind a non-breathable paint film.
Extra Tips That Make a Noticeable Difference
- Warm paint slightly before use in cold rooms, since cold paint thickens and drags under the roller
- Keep a wet edge by working in consistent sections rather than jumping around the wall
- Strain old or reopened paint through a stocking or fine mesh before rolling
- Use an extension pole for ceilings and high walls to avoid uneven pressure from overreaching
- Test paint color on the actual wall in daylight and lamp light before committing to the full room
Frequently Asked Questions
How long should plaster dry before painting?
A standard skim coat needs roughly 3 to 5 days to dry fully depending on thickness and room ventilation, even though it may feel dry to the touch within 24 hours.
Can I paint directly onto new plaster without a mist coat?
It is not recommended, since unsealed plaster absorbs paint unevenly and produces a blotchy finish known as flashing.
Is it cheaper to install Decorative Wall Panels than to plaster and paint?
Material costs for panels can be higher per square meter, but labor time is usually shorter, which often balances the total project cost depending on wall size and design complexity.
What causes plaster to crack after painting?
Cracking usually comes from applying coats too thick, painting before the plaster has cured, or underlying movement in the substrate such as plasterboard joints that were not taped properly.
How many coats of paint does a plastered wall need?
Most jobs need a mist coat followed by two full coats of emulsion or matt paint for even, durable coverage.
Can Decorative Wall Panels be installed over old wallpaper?
It depends on how securely the wallpaper is adhered; loose or bubbling wallpaper should be stripped first, while a flat, firmly bonded surface can often take panels directly with the right adhesive.
How do I know if a wall is flat enough for panels?
Holding a straight edge or spirit level against the wall reveals dips or bulges; gaps wider than a few millimeters usually need filling first so the panels sit flush without visible gaps at the seams.


 ++86-18906857262 / ++86-13754347028
 No.49, Tunnan Industrial Zone, Daohui Street, Shangyu District, Shaoxing City, Zhejiang Province, China