

 English
 русский
 عربى
عربى

A set of design, research and development, production, sales, installation in one of the professional new decorative materials enterprises.
Content
- 1 Design Goals: Function, Light, and Ceiling Height
- 2 The Four Matching Pillars: Color, Texture, Gloss, and Scale
- 3 Panel-Specific Pairing Guide for Wall and Ceiling
- 4 Installation Details That Elevate the Match
- 5 Common Mistakes to Avoid
- 6 Practical Workflow for a Cohesive Specification
- 7 Frequently Asked Questions
- 7.1 Can I use the same wall panel on the ceiling?
- 7.2 How do I choose between matte and glossy ceilings?
- 7.3 What is the best ceiling texture for 3D wall panels?
- 7.4 Should wall panels match the ceiling color exactly?
- 7.5 Can I install flexible stone panels on a ceiling?
- 7.6 Should I use the same manufacturer for both wall and ceiling materials?
The most reliable way to make decorative wall panels and a ceiling finish feel intentional is to align their color temperature, gloss range, and texture rhythm before you commit to a single sheet. You do not need to match the exact same finish; you need to build a relationship where one surface supports the other. This guide explains how to choose the right combination for a commercial lobby, hotel room, office, or residential space, and it shows how each panel family behaves when paired with common ceiling treatments.
The conclusion is simple: a coordinated room starts with a clear priority. Decide whether the wall panel or the ceiling should be the dominant element, then let the secondary surface echo its tone and texture without competing. From there, we can look at the exact decisions that matter.
Design Goals: Function, Light, and Ceiling Height
Before you pick a wall panel or a ceiling material, define how the space will be used. A hotel corridor with low ceilings needs reflective surfaces to feel wider, while a high-volume restaurant needs acoustic absorption. These goals determine the level of contrast you can afford between the two surfaces.
Room height and panel width
Ceiling height is the non-negotiable reference. For spaces under 2.7 meters, keep wall panels at a narrower width (60-120 cm) and choose a ceiling finish that reflects light, such as a smooth, low-sheen white or an acoustic felt. For ceilings above 3 meters, you can introduce wider panels (up to 120 cm) and richer textures, because the eye travels upward rather than being forced to scan a tight grid.
Natural light direction
Note where the dominant light source sits. If a bright window hits the wall panel directly, choose a matte ceiling finish to avoid a glare wall that flattens the panel texture. If the light comes from above, a slightly reflective ceiling will spread the light and make the wall panel pattern feel softer. This is a simple check, but it prevents many disappointing installations.
In a long corridor with a 2.4-meter ceiling, for example, a narrow 600 mm wood veneer panel with a smooth matte gypsum ceiling makes the space feel wider. In a double-height lobby, a 1200 mm flexible stone panel paired with a glossy stretch ceiling creates a strong vertical, grand impression. Always test the effect with a tape measure and a few panels before ordering.
The Four Matching Pillars: Color, Texture, Gloss, and Scale
Every successful wall-ceiling relationship can be evaluated by four criteria. If you control these four, you will avoid the “mismatched renovation” look.
- Color temperature – Warm browns and soft grays belong to the same family; a cold blue-gray panel calls for a cool white ceiling. Do not put a warm walnut panel on a cool ivory ceiling.
- Texture density – If the wall panel has a bold relief, keep the ceiling smooth or lightly meshed. If the ceiling has acoustic furring or exposed beams, choose a flat, low-relief panel for the wall.
- Gloss consistency – A matte wall panel needs a matte ceiling; a satin panel works with a slightly sheened ceiling. Avoid two glossy surfaces facing each other, which creates a mirror-for-mirror effect.
- Scale proportion – Large-format panels (such as 600 by 2400 mm) read as architectural statements; small-format modules (e.g., 300 by 600 mm) create a more domestic rhythm. Match the scale of the ceiling tiles to the panel module for a clean joint.
A practical example: in a 60-square-meter office meeting room, you can pair a 600 mm-wide carbonized wood flexible stone panel on the wall with a 600 mm square gypsum or metal ceiling tile. The repeating squares create a calm, ordered grid. In a boutique hotel lobby, use a wide curved-water-flow panel on the wall and a continuous white stretch ceiling, allowing the wall to breathe while the ceiling disappears.
One more rule is to keep the wall panel and ceiling within the same value range unless you deliberately want to create a tunnel effect. For a project that needs a sense of height, the ceiling should be lighter than the wall. For an intimate space, the ceiling can be a few shades darker, but not more than three steps, because the drop becomes oppressive.
Panel-Specific Pairing Guide for Wall and Ceiling
Different decorative wall panels behave differently against a ceiling. The table below summarizes the best ceiling partners for wood veneer paneling, flexible stone, and composite simulation panels.
Wood veneer paneling carries a warm, natural grain. It pairs beautifully with a flat drywall ceiling in the same undertone, or with a coffered wood ceiling if you want a richer traditional feel. For new trends in aluminium and wood veneers, you can also use a brushed aluminum suspension grid that adds a cool metallic edge while keeping the wood grain warm.
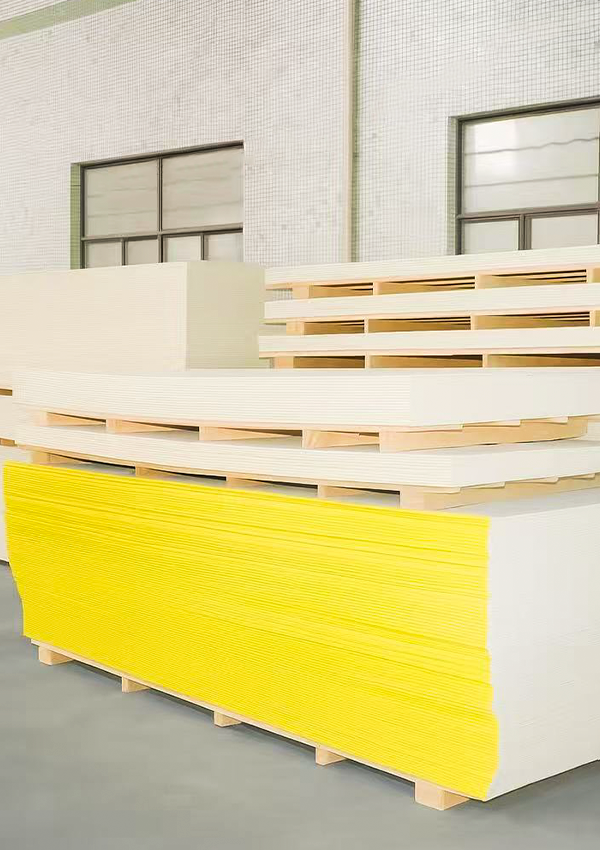 Baseboard for Wood Veneer Paneling from ManufacturerThis baseboard complements wood veneer wall panels, offering a clean finish for ceiling transitions. It suits spaces where warm wood grain meets flat drywall or coffered ceilings.View Product →
Flexible stone wall panels bring a natural or architectural texture to the wall. They look strongest when the ceiling is kept smooth and reflective, such as a vinyl stretch ceiling or a high-gloss white painted plaster. If your ceiling has existing beams, use a flexible stone panel with a quiet texture, like a slate or travertine look, so the two layers do not fight.
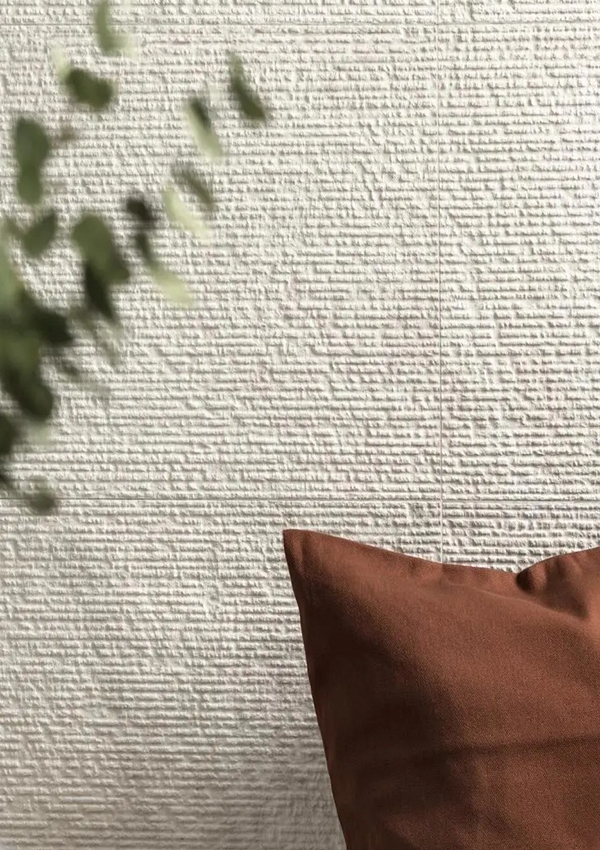
 Curved Water Flow Flexible Soft Stone Wall PanelInspired by flowing water, this panel adds a dynamic, three-dimensional stone texture. It pairs well with smooth reflective ceilings, balancing natural elegance and modern design for accent walls.View Product →
Composite simulation panels, such as rammed earth, cement pouring slab, or carbonized wood flexible stone, are often used in accent walls. These work best with a minimalist ceiling that has a single flat color and no visible grid. The ceiling acts as a quiet stage for the wall's bold texture.
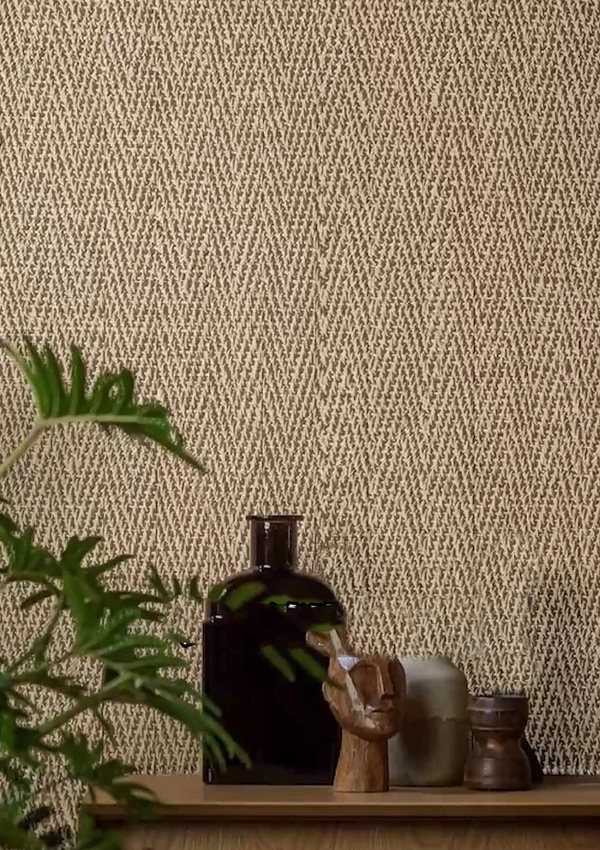
 Fine and Coarse Rammed Earth Flexible Stone PanelThis panel recreates traditional rammed earth texture with flexible technology. It works as an accent wall, best with a minimalist flat ceiling, providing natural layering and light interplay.View Product →
For budget-conscious commercial projects, PVC/PET film wood veneer can be used on walls, and the same film can be applied to ceiling panels to create a fully coordinated room without the cost of real timber. A matte PET surface on the ceiling is easier to maintain than a glossy finish, especially in meeting rooms or retail spaces.
| Wall Panel Family | Best Ceiling Finish | Visual Effect | Watch Outs |
|---|---|---|---|
| Wood veneer paneling | Flat drywall, coffered wood, aluminum grid | Warm, coordinated, upscale | Keep the undertone consistent |
| Flexible stone (3D relief) | Stretch vinyl, glossy plaster | Texture pops, ceiling adds depth | Avoid two heavy textures |
| Composite simulation (rammed earth, cement, carbonized wood) | Smooth matte ceiling, no visible grid | Accent wall becomes focal point | Keep ceiling color muted |
Installation Details That Elevate the Match
Even the best panel pair looks average if the junction is not handled well. The following details make a wall-ceiling transition look designed rather than assembled.
- Use a shadow gap. Leave a 15-20 mm reveal between the top of the wall panel and the ceiling. This creates a crisp, architectural shadow line that separates the two finishes without a trim.
- Add cove lighting. A continuous LED strip placed inside the shadow gap washes the ceiling with soft light and emphasizes the panel's texture. Use a warm white (3000-4000 K) to match the wall panel undertone.
- Align the panel direction. If your ceiling panels run in one direction, run the wall panels in the same direction. Vertical wall panels with horizontal ceiling lines often break the visual flow.
- Test the joint with your front door light. A quick mock-up of a small section will reveal how the colors shift under artificial light. Overhead lights can make a warm wall panel look very different from the ceiling.
In projects where the wall panel needs to be installed directly under a suspended ceiling, remember to investigate the sub-frame. Some flexible stone panels weigh 2-4 kg per square meter, which is fine for a standard ceiling rail system, but always confirm with your site engineer before mixing the two.
Common Mistakes to Avoid
After working with hundreds of wall panels and ceiling installations, these are the patterns that cause most dissatisfaction.
- Exact same color everywhere. The result is a flat, monotonous box. A slight contrast (one step lighter or darker) gives the room depth.
- Ignoring light reflection. A high-gloss ceiling in a room with many windows produces a pool of glare on the wall. Matte absorption is usually safer for offices.
- Neglecting thermal expansion. Wall panels expand and contract with humidity. If the ceiling is fixed without any movement joint, the wall panel may buckle. Always allow a 5-8 mm expansion gap around the perimeter.
- Choosing a heavy panel for a lightweight ceiling. Some flexible stone panels are thicker than 3 mm and weigh more than they appear. A standard plasterboard ceiling may need reinforcement.
- Overlooking the visible grid. If you use T-bar ceiling tiles, the exposed grid becomes a pattern. Count that grid as part of the design, not an afterthought.
Practical Workflow for a Cohesive Specification
To ensure a smooth match from the first sketch to the final installation, follow a simple six-step workflow. This is the sequence we use in our own projects to minimize wasted material and rework.
- Measure the room. Record the height, width, ceiling depth, furniture layout, and the exact position of windows and doors. Circle the wall that will be the focal point.
- Select the priority surface. Decide whether the wall panel or the ceiling will be the hero. For bedrooms, the wall usually takes the lead; for large halls, the ceiling can define the space.
- Create a physical sample. Ask your manufacturer for a 300 by 300 mm sample of both the wall panel and the proposed ceiling finish. Tape them together and view them under the actual room lighting at different times of the day.
- Define the junction detail. Select whether you want a shadow gap, a flush joint, or an aluminum trim. This choice affects the wall panel thickness and the ceiling edge profile.
- Confirm the fixing method. For ceiling-mounted panels, verify the weight and the adhesive. For wall panels, check if the substrate is level. Use the right sealant to avoid cracks.
- Give a final walkthrough. After the ceiling is finished, place the wall panels against it and inspect from the entry point. A 5-degree turn of the head can reveal a color shift you missed earlier.
Frequently Asked Questions
Can I use the same wall panel on the ceiling?
Yes, but only if the ceiling is designed to support the weight. Lightweight wood veneer panels or thin flexible stone panels can be attached to a solid substrate. Ensure the adhesive and fasteners are rated for overhead use, and always provide an access point for maintenance.
How do I choose between matte and glossy ceilings?
If your wall panel has a lot of texture or a busy pattern, choose a matte ceiling. If the wall panel is calm and minimal, a glossy ceiling can reflect it and add depth. In small rooms, a matte ceiling is almost always safer because it does not create sharp reflections.
What is the best ceiling texture for 3D wall panels?
Use a flat, smooth ceiling. The purpose of a 3D or textured wall panel is to create a focal point; a heavily textured ceiling competes with it. If you want some ceiling interest, consider a subtle painted plaster rather than a deep relief.
Should wall panels match the ceiling color exactly?
Not exactly. Matching the same color from the same sample can look flat. A better approach is to use a tone that is 2-3 stops lighter on the ceiling, which visually raises the room. For a dramatic accent wall, make the wall much darker than the ceiling.
Can I install flexible stone panels on a ceiling?
It is possible with the correct substrate and adhesive. Flexible stone panels are typically 2-4 mm thick and weigh 2-6 kg per square meter. A reinforced gypsum board or a metal stud ceiling can hold them, but you must also account for the panel's flexibility on a flat surface. For ceiling use, choose a smooth, low-relief pattern to avoid heavy shadows.
Should I use the same manufacturer for both wall and ceiling materials?
Yes, a single manufacturer can match the tone and texture more accurately, and can advise on the weight and fixing method for ceiling applications. It also simplifies procurement and ensures that the color batch remains stable across the entire order. Ask your supplier for a small sample before making the final purchase.
Matching decorative wall panels with a ceiling finish is a process of setting a priority, then letting the secondary surface echo the primary. Start with the room's function and light, test your color and gloss decisions, and give the installation team enough detail to create a clean junction. When you keep these steps in mind, a walnut wood panel and a flat white ceiling can coexist as beautifully as a rammed earth accent wall and a quiet matte plaster ceiling.
If you are working on a hotel lobby, a corporate office, or a residential renovation, review your panel samples with a ceiling sample side by side under the actual lighting conditions before finalizing the order. The extra ten minutes of comparison will save you from an expensive mismatch.


 ++86-18906857262 / ++86-13754347028
 No.49, Tunnan Industrial Zone, Daohui Street, Shangyu District, Shaoxing City, Zhejiang Province, China