

 English
 русский
 عربى
عربى

A set of design, research and development, production, sales, installation in one of the professional new decorative materials enterprises.
Content
- 1 Can You Wallpaper A Bathroom With A Shower
- 2 Why Ordinary Wallpaper Fails Near A Shower
- 3 Wall Coverings That Actually Hold Up In Wet Rooms
- 4 Why Decorative Wall Panels Outperform Wallpaper Near A Shower
- 5 Mapping Moisture Zones Before Choosing A Product
- 6 Step By Step Approach To Wallpapering A Bathroom With A Shower
- 7 Common Mistakes That Shorten The Lifespan Of Bathroom Wall Coverings
- 8 Maintaining A Wallpapered Or Panel-Covered Bathroom Long Term
- 9 Cost Considerations For Bathroom Wall Coverings
- 10 Design Considerations When Mixing Wallpaper And Decorative Wall Panels
- 11 Frequently Asked Questions
- 11.1 Can regular wallpaper be used right inside a shower stall
- 11.2 What is the most durable option for the wall directly facing a shower head
- 11.3 How long does vinyl wallpaper last in a humid bathroom
- 11.4 Does a bathroom need an exhaust fan for wallpaper to survive
- 11.5 Can wallpaper and Decorative Wall Panels be combined in the same bathroom
- 11.6 Is peel and stick wallpaper safe to use near a shower
- 11.7 Do Decorative Wall Panels need special tools to install
- 11.8 How often should the caulk around a panel or wallpaper edge be replaced
- 11.9 Does the color or pattern of wallpaper affect how well it holds up near moisture
Can You Wallpaper A Bathroom With A Shower
Yes, but only with the right product in the right zone. Standard paper-based wallpaper breaks down within months in a bathroom that has a shower, because paste and paper fibers absorb steam and standing moisture. A wall covering rated for wet rooms, installed with waterproof adhesive and sealed at every seam, can perform for many years even a few feet from running water. The deciding factor is not whether wallpaper is allowed near a shower, it is whether the material and the installation method were built for constant humidity rather than a dry living room wall.
Bathrooms with a shower have three distinct moisture zones: direct spray contact, splash and condensation range, and the drier upper wall and ceiling area. Each zone needs a different level of protection, and matching the wrong product to the wrong zone is the single biggest reason bathroom wall coverings fail early. The remainder of this guide walks through exactly which materials belong in which zone, how installation changes near a shower, what it costs, and how to keep any bathroom wall covering looking new for years rather than months.
It also helps to understand why this question comes up so often. Bathrooms are one of the few rooms where homeowners want the visual warmth of pattern and texture, yet the room itself is the least forgiving environment in the house for absorbent materials. Getting the answer right the first time avoids a costly redo within a year, which is the outcome that leads most people to search for this topic in the first place.
Why Ordinary Wallpaper Fails Near A Shower
Standard non-woven or paper wallpaper is manufactured for stable indoor humidity, generally between 40 and 60 percent relative humidity. A shower can push local humidity above 90 percent for twenty to thirty minutes at a time, several times a day in a busy household. That swing, repeated daily, is what wears down an absorbent wall covering far faster than in any other room.
- Paper substrate absorbs water vapor and swells, which lifts seams away from the wall
- Wheat or cellulose paste loses its bond strength when repeatedly wetted and dried
- Printed ink and coatings on budget wallpaper can fade or streak under condensation runoff
- Trapped moisture behind the paper creates conditions for mold growth within the wall cavity
- Temperature swings between a hot shower and a cool bathroom cause the paper to expand and contract, weakening the bond line over time
- Poor bathroom ventilation extends the amount of time the wall covering stays wet after each shower, compounding every one of the issues above
None of this means the entire bathroom is off limits for wallpaper. It means the area within roughly three feet of the shower head and the shower stall itself needs a different category of material than the wallpaper used on a bedroom wall. Homeowners who skip this distinction are the ones who end up repainting or re-papering a bathroom within twelve months of the original installation.
How Fast Does Failure Actually Happen
In bathrooms with average daily shower use and a working exhaust fan, unsuitable paper wallpaper installed directly in the splash zone typically shows the first signs of lifting seams within three to six months. Without any ventilation at all, that timeline can shrink to a matter of weeks, particularly along the bottom edge closest to the tub or shower pan where standing water collects.
Wall Coverings That Actually Hold Up In Wet Rooms
Several categories of wall covering are built specifically for washrooms, spas, and commercial restrooms where daily steam exposure is expected. The table below compares the four most common options used by contractors and homeowners today.
| Material | Moisture Rating | Typical Lifespan | Direct Spray Zone Suitable |
|---|---|---|---|
| Solid vinyl wallcovering | High | 10 to 15 years | Splash zone only |
| Decorative Wall Panels | Very high | 15 to 25 years | Yes, with sealed joints |
| Peel and stick vinyl film | Moderate | 2 to 5 years | Not recommended |
| Standard paper or non-woven wallpaper | Low | Under 1 year near shower | No |
| Ceramic or porcelain tile | Very high | 20 years or more | Yes |
Among these, solid vinyl and Decorative Wall Panels are the two categories professionals reach for most often when a client insists on pattern and texture within a few feet of running water, since full tile replacement is not always practical during a smaller renovation.
What Solid Vinyl Wallcovering Actually Is
Solid vinyl differs from ordinary vinyl-coated wallpaper because the entire face and backing are made of vinyl rather than paper with a thin vinyl coating layered on top. This construction gives the material a continuous, non-porous surface that resists water penetration even when the coating on a cheaper product would eventually crack or peel. It is the category most commonly specified in hospital corridors, hotel bathrooms, and commercial restrooms precisely because it tolerates repeated wet cleaning.
What Sets Decorative Wall Panels Apart From Vinyl Sheeting
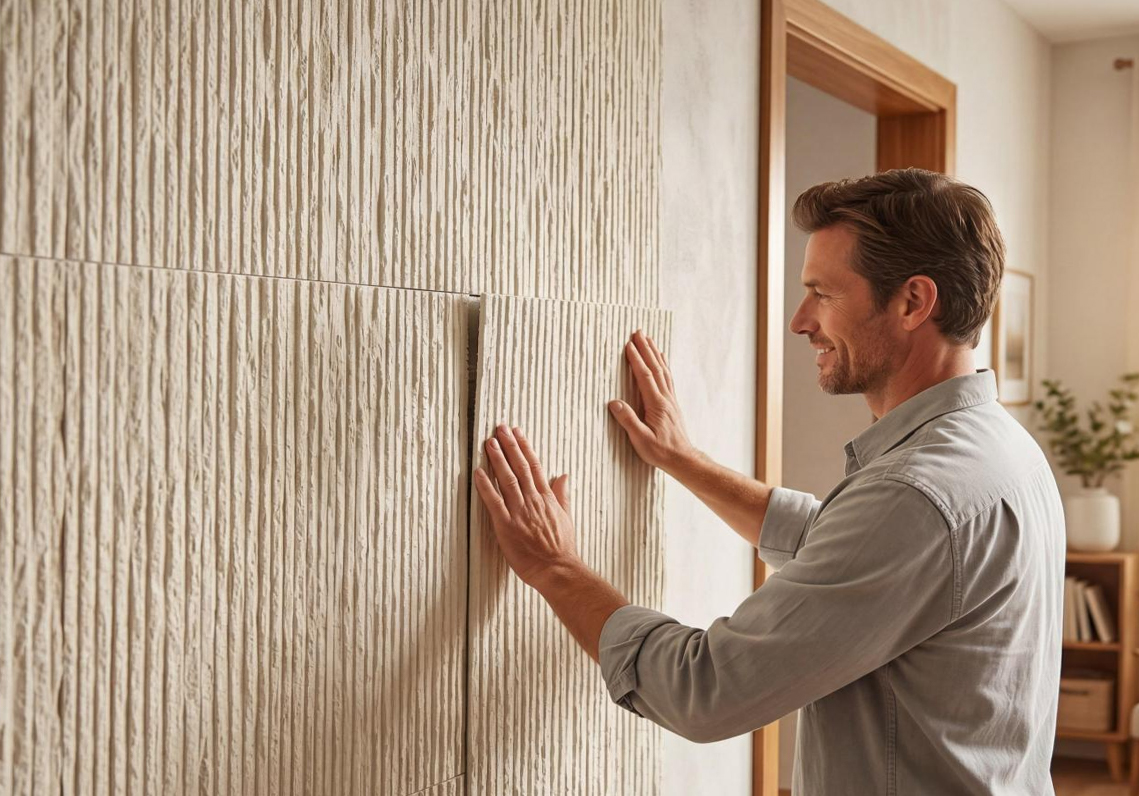
Where vinyl wallcovering is a thin, flexible sheet, Decorative Wall Panels are rigid or semi-rigid boards, which changes how they behave at the seams. A flexible sheet relies entirely on adhesive to keep its edges sealed against water. A rigid panel can be installed with a tongue and groove or shiplap style joint, then finished with a bead of waterproof sealant, which creates a mechanical barrier in addition to the adhesive bond. That extra layer of protection is why panels tend to outlast vinyl sheeting in the zone directly facing the shower head.
Why Decorative Wall Panels Outperform Wallpaper Near A Shower
Decorative Wall Panels are rigid or semi-rigid sheet materials, commonly produced from PVC, WPC composite, or coated MDF, engineered with a closed surface that does not absorb water the way paper fibers do. Unlike wallpaper, the pattern is embedded or laminated into the panel surface itself rather than printed onto an absorbent sheet, so fading and peeling from steam exposure is far less common.
Three properties make Decorative Wall Panels a practical substitute for wallpaper in a shower-adjacent bathroom:
- Closed cell or laminated surfaces resist water penetration even under continuous condensation
- Rigid panel joints can be sealed with waterproof caulk rather than relying on wallpaper seam adhesive
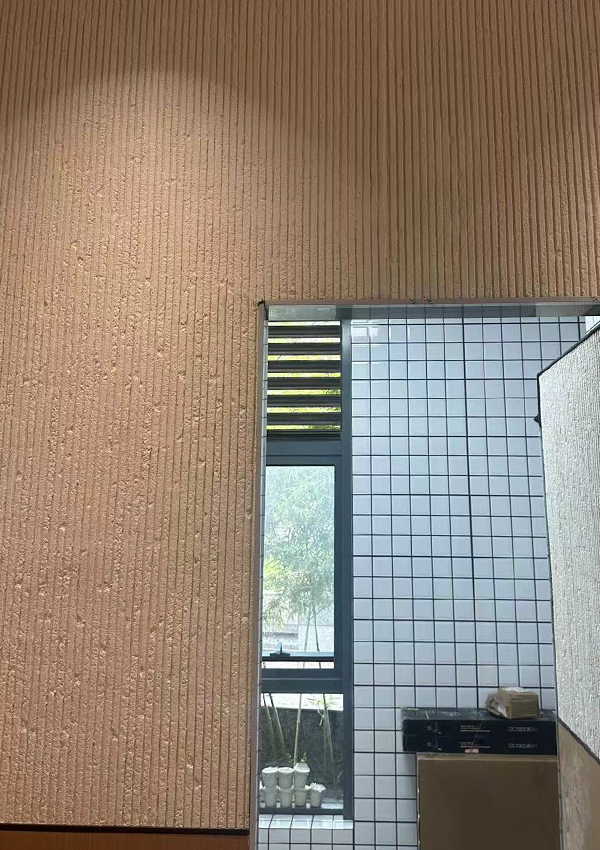
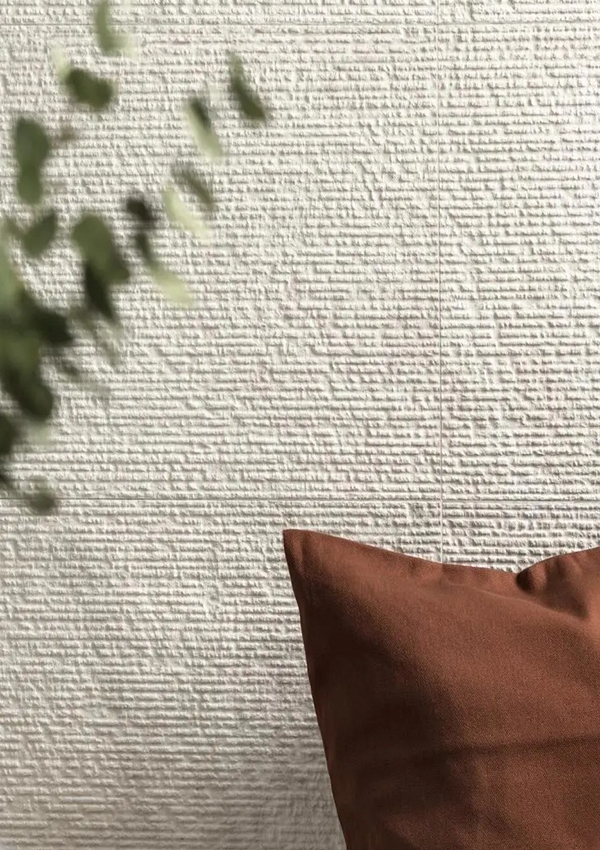
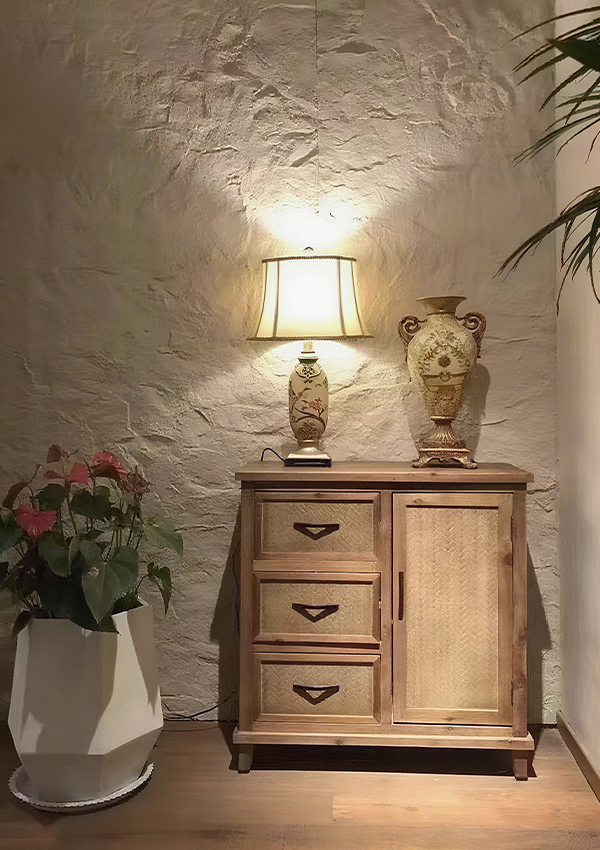
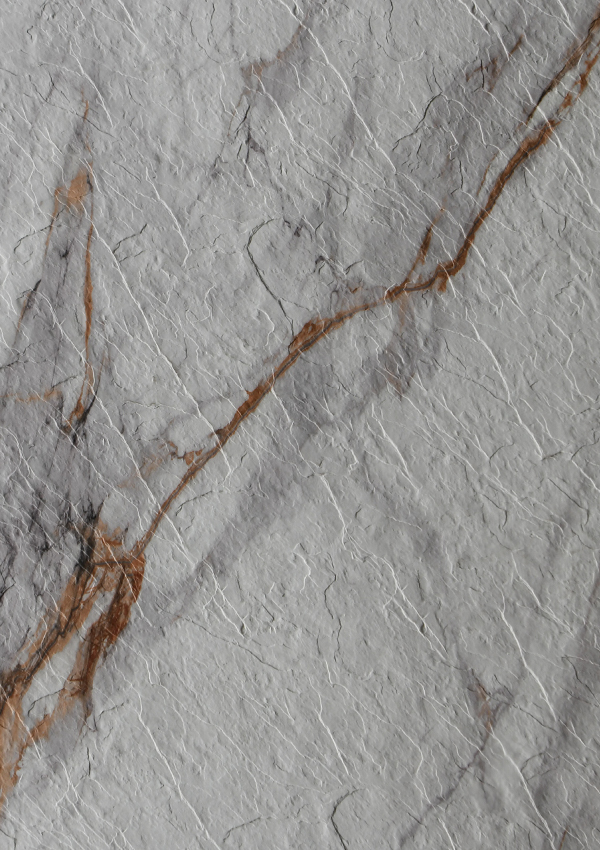
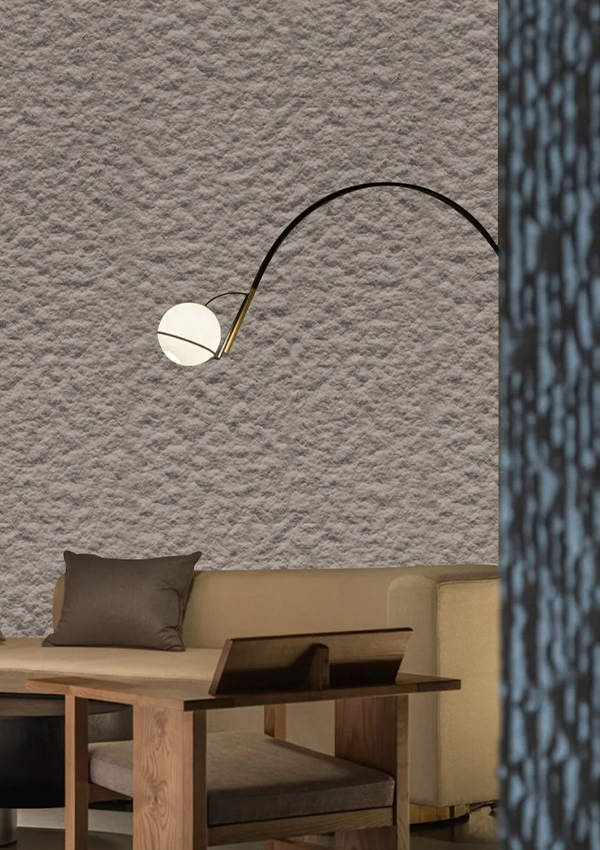
- Textured and embossed finishes replicate stone, wood grain, or fabric patterns without the fragility of a printed paper surface
Panels are typically installed with a waterproof construction adhesive directly over a moisture-resistant backer board, then finished with a silicone bead at every internal corner and floor junction. This creates a continuous water barrier that wallpaper, by its nature, cannot replicate.
Panel Thickness And Its Effect On Durability
Panel thickness generally ranges from about 3 millimeters for lightweight decorative sheets up to 8 millimeters or more for structural WPC panels used in high traffic commercial washrooms. Thicker panels resist impact damage better, which matters in bathrooms shared by children, and they also hold screws and trim fasteners more securely along the edges where towel bars or grab rails may need to be mounted.
Finish Options Beyond Plain Color Panels
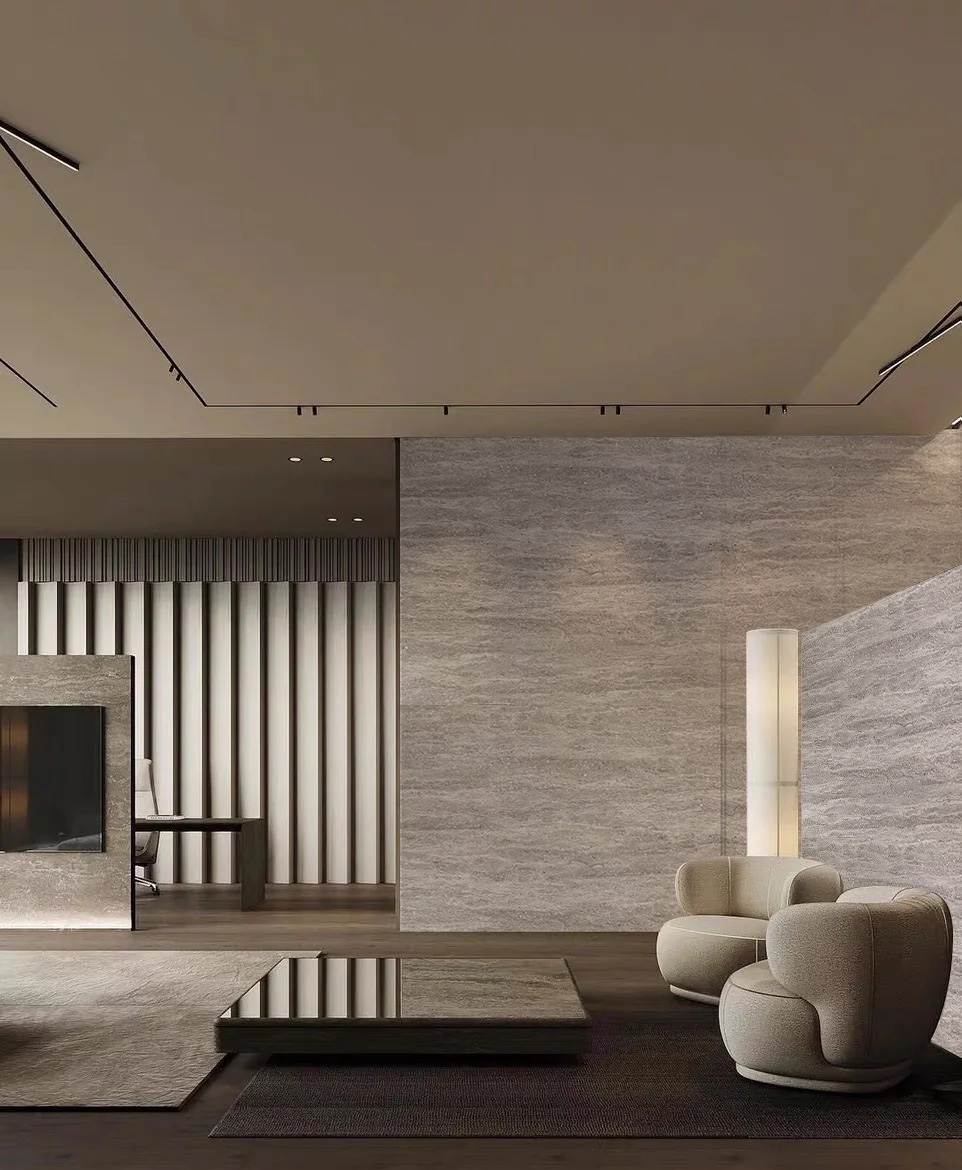
Modern Decorative Wall Panels are produced in a wide range of finishes, including matte stone-look textures, brushed metal patterns, wood grain embossing, and high gloss lacquer surfaces. Because the design layer sits beneath a protective laminate rather than exposed on the surface, these finishes hold their appearance under humidity far longer than an equivalent printed wallpaper pattern would in the same location.
Mapping Moisture Zones Before Choosing A Product
Before deciding on wallpaper, panels, or a mixed approach, it helps to walk the bathroom and identify three zones. Professional installers use this same zoning logic on every wet room project, whether the finished look is wallpaper, panel, tile, or a combination of all three.
- Zone one, direct spray covers the inside of the shower stall and any wall the shower head sprays onto directly. Only fully waterproof tile, solid vinyl, or Decorative Wall Panels with sealed joints belong here.
- Zone two, splash and condensation extends roughly two to three feet beyond the shower enclosure, including the area around a vanity sink. Vinyl-coated wallpaper or panels both work, provided seams are sealed.
- Zone three, dry perimeter covers upper walls, ceilings away from the shower, and hallway-facing walls. Standard wallpaper is generally acceptable here with adequate bathroom ventilation.
A common and cost-effective approach is to use Decorative Wall Panels or tile inside zone one, then continue a coordinating wallpaper pattern into zone three, using a trim strip or molding at the transition line to hide the material change.
Adjusting Zones For Small Bathrooms
In a compact bathroom where the shower sits only a few feet from the opposite wall, splash and condensation can reach every surface in the room, effectively erasing the dry perimeter zone. In that layout, it is usually more practical to treat the entire room as zone two and select a fully washable, moisture-rated covering throughout, rather than trying to preserve a small dry patch that will still see occasional steam exposure.
Adjusting Zones For Half Walls And Glass Enclosures
A fully enclosed glass shower door changes the zoning picture considerably, since it physically blocks most direct spray from reaching the surrounding walls. In that case, the area just outside the enclosure can often be treated as splash and condensation rather than direct spray, which opens up more wallpaper options right up to the glass edge, provided the seal between the glass frame and the wall covering is maintained with silicone.
Step By Step Approach To Wallpapering A Bathroom With A Shower
For homeowners set on using wallpaper as close to the shower as reasonably possible, the following sequence reduces failure risk significantly.
- Confirm the bathroom has an exhaust fan rated for the room size and run it during and for twenty minutes after every shower
- Choose a solid vinyl or vinyl-coated wallpaper rated for commercial or wet area use, not a standard residential pattern book item
- Prepare the substrate with a moisture-resistant primer, and use cement backer board rather than standard drywall within splash range
- Apply a clay or vinyl-over-vinyl adhesive rated for high humidity rather than a wheat paste product
- Seal every seam with a clear waterproof seam sealer once the paper has fully dried, typically after 24 to 48 hours
- Caulk the top and bottom edges where the covering meets tile, trim, or the shower enclosure using a mildew-resistant silicone sealant
- Allow the room to sit unused for at least 24 hours after the final seal cures before running the shower again
Skipping the sealing step is the most frequent cause of early wallpaper failure that professional installers report, since an unsealed seam becomes the first entry point for water vapor.
Tools That Make A Meaningful Difference
A seam roller applied firmly along every joint immediately after hanging helps force out trapped air and pushes the paper into full contact with the adhesive layer, which reduces the chance of an air pocket becoming a moisture trap later. A small artist brush works well for applying seam sealer precisely along joints without spreading excess sealer onto the visible pattern surface.
Drying Time Before First Use
Manufacturers of wet-area rated wallpaper commonly recommend a minimum of 48 hours before the room is exposed to shower steam, and some heavier vinyl products call for a full 72 hours. Rushing this step is one of the more overlooked reasons a technically correct installation still fails within the first month, since the adhesive has not fully cured before it faces its first real humidity test.
Common Mistakes That Shorten The Lifespan Of Bathroom Wall Coverings
Several recurring errors show up in bathrooms where wallpaper or panels failed within the first year.
- Installing wallpaper directly over untreated drywall inside the splash zone
- Using a standard household paste instead of a vinyl or wet-area rated adhesive
- Skipping seam sealing to save installation time
- Running a bathroom fan only during the shower rather than for a full ventilation cycle afterward
- Choosing a decorative pattern based on appearance alone without checking its moisture rating on the product label
- Cutting panel joints without leaving a small expansion gap, which can cause buckling as temperature and humidity shift through the seasons
- Reusing an old, unsealed grout line as the finishing edge instead of applying fresh mildew-resistant caulk during installation
Why Ventilation Matters More Than Most People Expect
An exhaust fan rated below the size of the room, or one that vents into an attic space rather than outdoors, can leave a bathroom holding elevated humidity for hours after a shower rather than the recommended twenty to thirty minutes. That extended exposure window compounds every other risk on this list, since even a properly sealed wall covering will eventually show wear if it never gets a chance to fully dry between uses.
Maintaining A Wallpapered Or Panel-Covered Bathroom Long Term
Once installed correctly, upkeep is straightforward and takes only a few minutes each week.
- Wipe down vinyl surfaces or Decorative Wall Panels with a soft cloth and mild soap solution weekly to prevent soap scum buildup
- Inspect seams and caulk lines every six months for gaps or discoloration
- Re-caulk high-touch joints, such as where a panel meets the shower frame, roughly once a year
- Avoid abrasive scrubbing pads on printed or laminated surfaces, since they can dull the finish over time
- Squeegee standing water off panel or vinyl surfaces after each shower to speed up drying and reduce mineral buildup from hard water
- Address any small area of lifting or discoloration immediately rather than waiting, since moisture problems tend to spread outward from the original weak point
Panels generally need less attention than wallpaper because there are fewer seams overall, and the seams that do exist are sealed with silicone rather than paper adhesive, which holds up far better to repeated cleaning.
Cleaning Products To Avoid
Bleach-based cleaners and abrasive powders can dull the printed surface of both vinyl wallcovering and laminated Decorative Wall Panels over time. A pH neutral bathroom cleaner or a simple diluted dish soap solution is generally sufficient for routine cleaning without wearing down the protective top layer.
Cost Considerations For Bathroom Wall Coverings
| Material | Cost Range | Best Use |
|---|---|---|
| Standard wallpaper | Low | Dry perimeter walls only |
| Solid vinyl wallcovering | Mid range | Splash and condensation zone |
| Decorative Wall Panels | Mid to higher range | Direct spray zone and full shower surround |
| Ceramic tile | Higher, plus labor | Full wet room renovation |
Although Decorative Wall Panels typically cost more per square foot than paper wallpaper up front, the extended lifespan and reduced replacement frequency generally make the lifetime cost comparable or lower once repeated wallpaper repairs are factored in.
Labor Cost Differences Worth Planning For
Panel installation is often faster than paper hanging on a per square foot basis, since large sheets cover more wall area per piece and require fewer seams. Wallpaper hanging, by contrast, takes longer per square foot due to pattern matching and trimming, particularly on a patterned print where each strip must align with the last. For a full bathroom renovation, the labor time saved with panels can offset a meaningful portion of the higher material cost.
Budgeting For The Whole Room Rather Than Just The Shower Wall
A frequent budgeting mistake is pricing only the shower wall in Decorative Wall Panels or tile, then discovering later that the adjoining walls need a compatible trim profile, corner piece, or transition strip to tie the materials together cleanly. Factoring in trim pieces and transition hardware from the start avoids a second, smaller purchase and installation trip later.
Design Considerations When Mixing Wallpaper And Decorative Wall Panels
Beyond moisture performance, the visual transition between materials deserves planning. A few practical approaches consistently produce a cohesive look rather than an obvious patch job.
- Match the undertone of the wallpaper pattern to the panel finish, rather than pairing a warm wood-toned panel with a cool blue-gray wallpaper
- Use a horizontal trim strip at chair rail height as the transition line, which reads as an intentional design choice rather than a repair boundary
- Choose a panel texture that echoes a pattern element already present in the wallpaper, such as a linear groove panel paired with a striped paper
- Keep the transition line consistent around the entire room rather than varying its height on different walls
Working With Small Or Windowless Bathrooms
In a small or windowless bathroom, lighter panel finishes combined with a similarly light wallpaper tone tend to keep the space feeling open, since darker wet-area materials can make an already compact room feel closed in under artificial lighting. Reflective or subtly glossy panel finishes near the shower can also help bounce available light around the room.
Frequently Asked Questions
Can regular wallpaper be used right inside a shower stall
No. Regular paper or non-woven wallpaper is not designed for direct water contact and will typically peel, bubble, or grow mold within weeks of consistent shower use in that exact location.
What is the most durable option for the wall directly facing a shower head
Decorative Wall Panels with sealed joints and full waterproof adhesive backing, or ceramic tile, are the most durable choices for a wall that receives direct spray on a daily basis.
How long does vinyl wallpaper last in a humid bathroom
When installed with proper adhesive, sealed seams, and adequate ventilation, solid vinyl wallcovering commonly lasts ten to fifteen years in the splash and condensation zone.
Does a bathroom need an exhaust fan for wallpaper to survive
Yes. Ventilation that clears humidity within thirty minutes after a shower significantly extends the life of any wall covering, including Decorative Wall Panels, by reducing the time surfaces stay saturated with moisture.
Can wallpaper and Decorative Wall Panels be combined in the same bathroom
Yes, this is a common approach. Panels or tile cover the direct spray zone, while wallpaper continues on the drier upper walls, with a trim strip marking the transition between the two materials.
Is peel and stick wallpaper safe to use near a shower
Peel and stick vinyl film can work on dry accent walls but is not recommended within the splash zone, since its adhesive backing is generally not rated for prolonged high humidity exposure.
Do Decorative Wall Panels need special tools to install
Most panel systems can be installed with a fine tooth saw for cutting, a notched trowel for spreading adhesive, and a caulking gun for sealing joints, which is a similar tool set to what a confident do it yourself installer would already use for wallpaper.
How often should the caulk around a panel or wallpaper edge be replaced
A yearly inspection is a reasonable baseline, with replacement whenever the caulk shows cracking, yellowing, or gaps, since a failed seal at the edge is often the first point where moisture begins working its way behind the wall covering.
Does the color or pattern of wallpaper affect how well it holds up near moisture
The color itself has little effect on durability, but darker printed patterns can make early water staining more visible, while lighter patterns tend to hide minor discoloration longer, which is a practical consideration even though it does not change the underlying moisture resistance of the material.


 ++86-18906857262 / ++86-13754347028
 No.49, Tunnan Industrial Zone, Daohui Street, Shangyu District, Shaoxing City, Zhejiang Province, China